Independent Stampin'Up Demonstrator ---- Making handcrafted cards and paper craft projects
Saturday, September 18, 2021
Stampin'Up Decorative Masks
Thursday, September 9, 2021
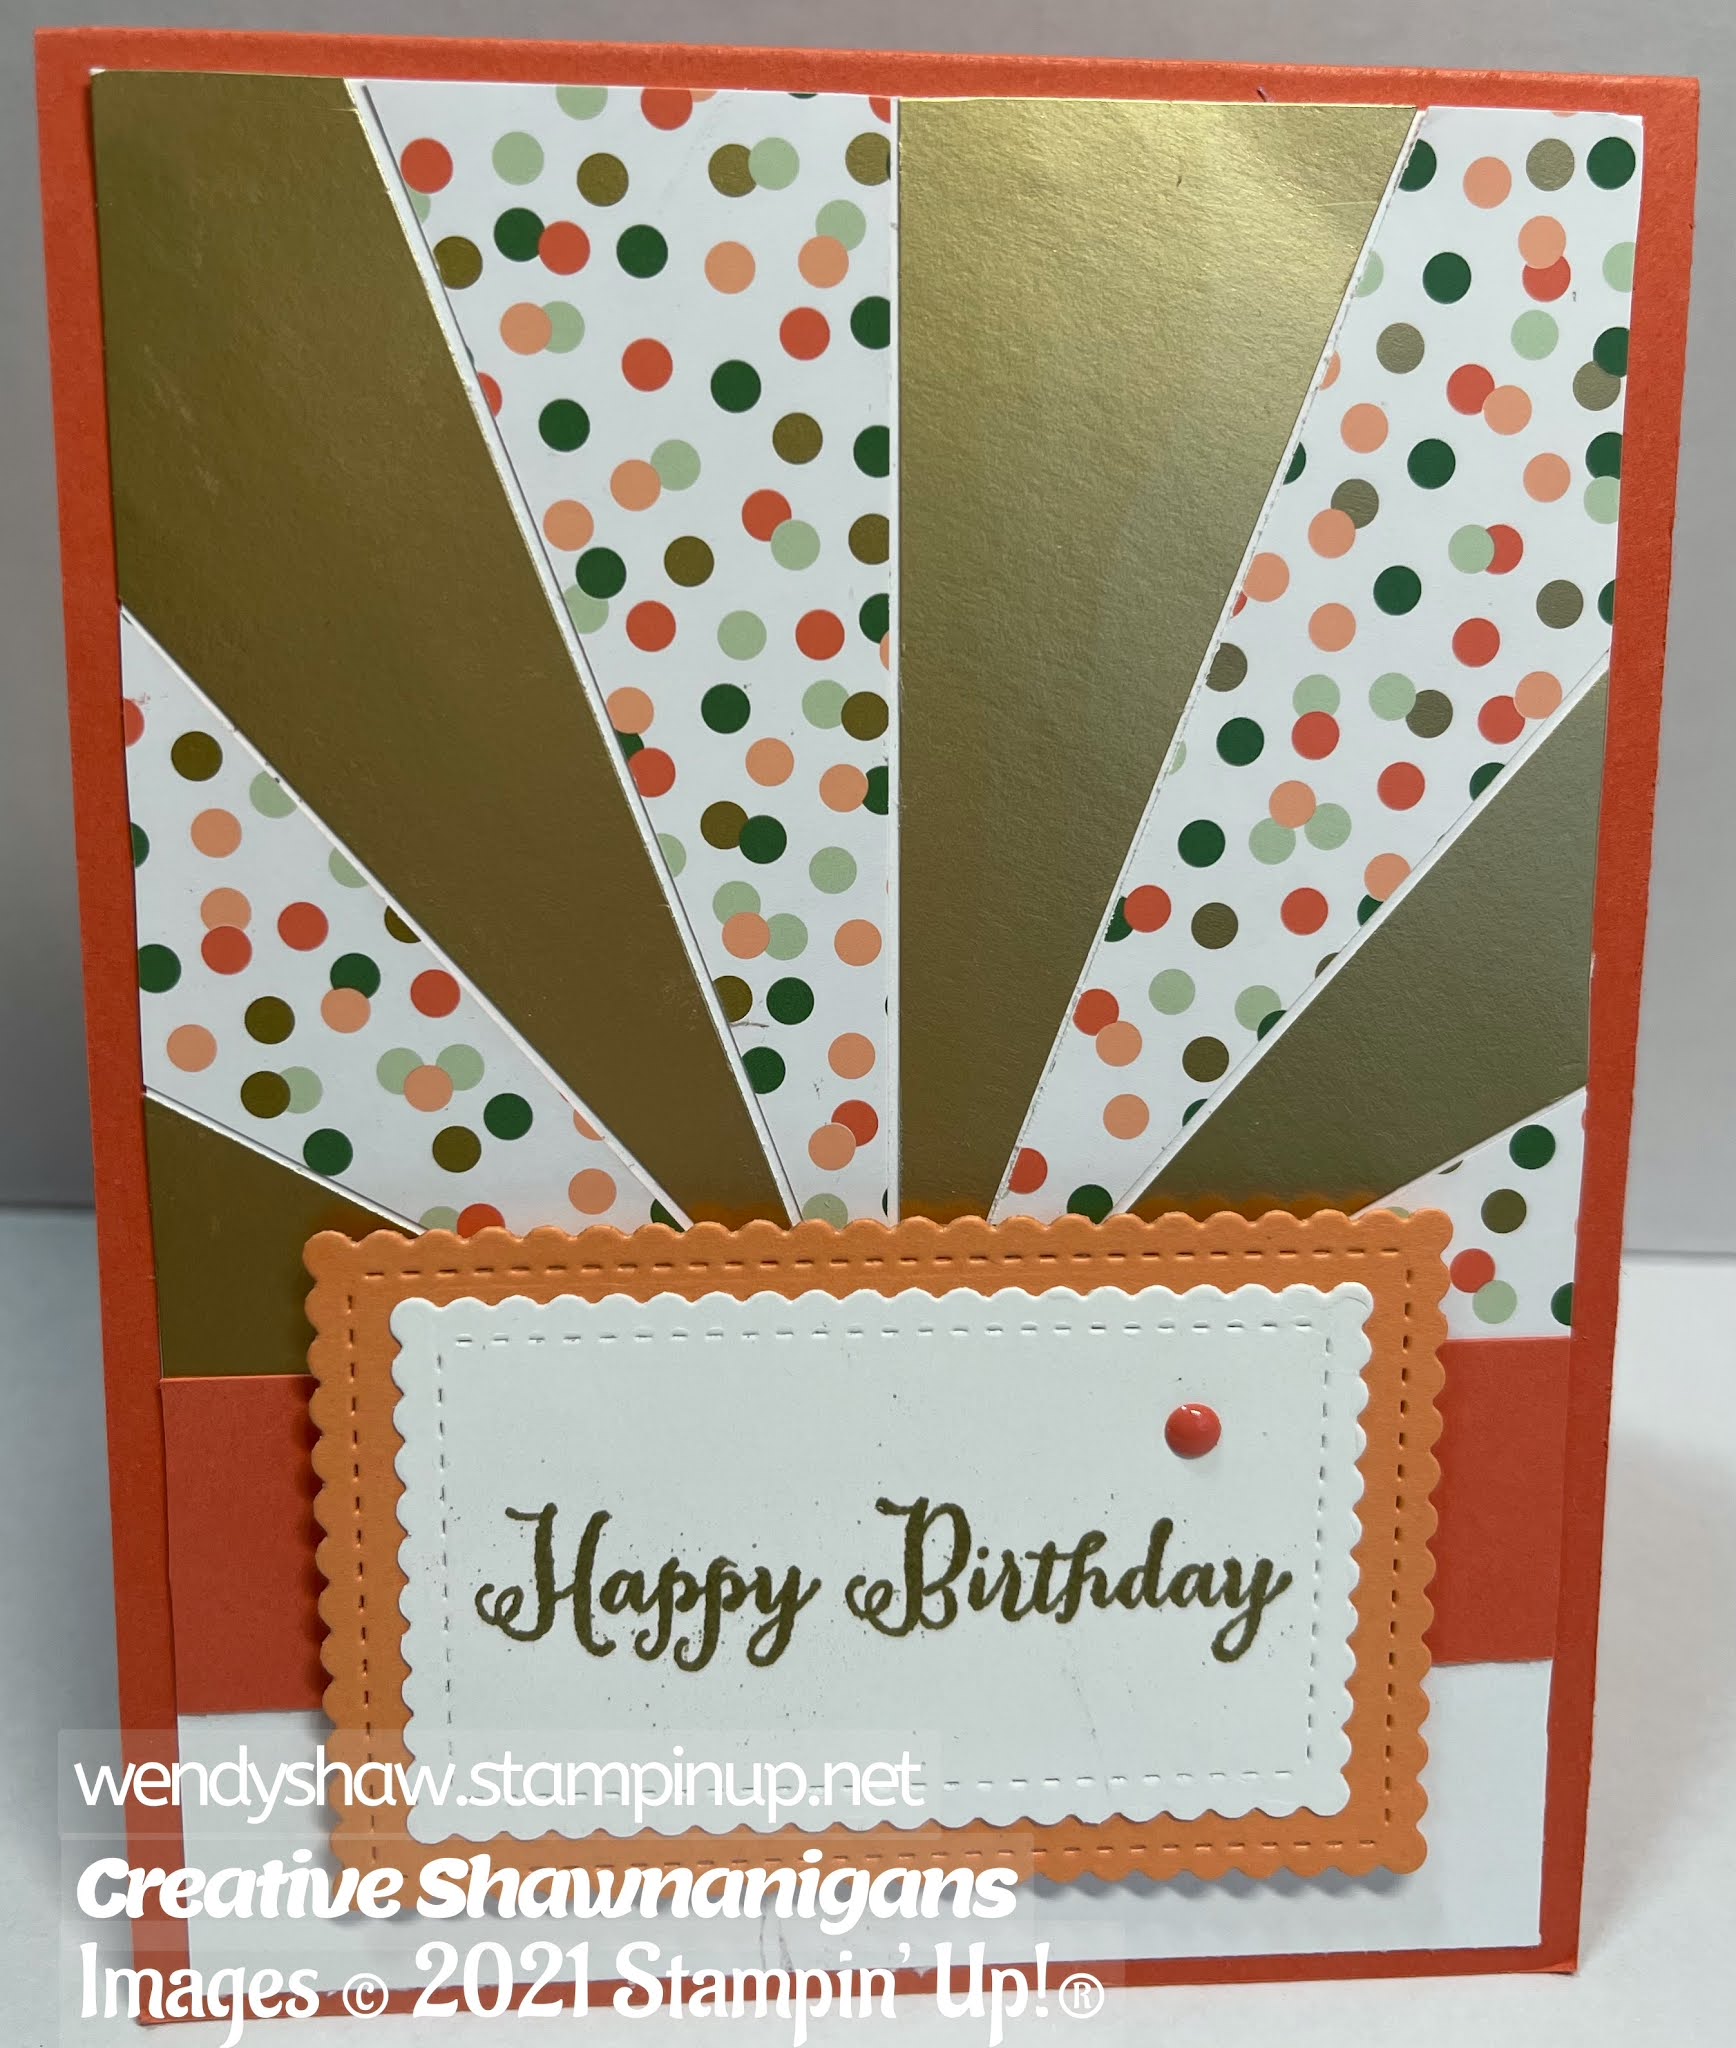
STAMPIN'UP STARBURST CARDS
MEASUREMENTS
Cut 8 1/2 X 11 cardstock of choice lengthwise at 4 1/4” and scored at 5 1/2”
Cut a strip of cardstock 1” X 4”
Cut 4 pieces of double sided Designer Series Paper that coordinate with the cardstock, each with a different design, each 1 1/2" X 4". Cut each of these pieces diagonally from corner to corner.
Cut 2 pieces of white cardstock, 4” X 5 1/4 (one for inside the card, one for card front)
Stamp Sentiment of your choice can be added
INSTRUCTIONS
Find a spot about 1 1/2" up from the bottom of the white cardstock and in the center of the cardstock. Begin placing the tip of each strip of DSP at that point so they fan out over the white cardstock. You can decide on which pattern to have showing; Don't worry about the edges of the DSP hanging over the white cardstock. Once you are finished adhering these strips, turn over the white cardstock and trim off al excess. Adhere the 1" strip of cardstock across the bottom to cover the edge of the DSP. Add your chosen sentiment.
For the card below, I used a piece of black cardstock, 4 X 5 1/4". I found the spot in the middle of the cardstock and applied the DSP working outward from that point. Again, I flipped over the cardstock and trimmed off the excess DSP. To finish, I added the label and a sentiment in the center.
For each inside, I used a blender brush and an ink that closely matched the cardstock I had chosen Calypso Coral to add some colour. I adhered this to the inside of the card.
I then stamped a sentiment onto a piece of white cardstock and used a die to make a large sentiment label and adhered to the inside.

Friday, August 27, 2021
STAMPIN'UP HEY HAPPY BIRTHDAY CHICK SQUARE POP-UP CARD
Cut Card base 4 1/4” X 11”, score at 5 1/2”.
Cut 1 piece of white cardstock for front 4" X 5 1/4"
Cut 6” square of same cardstock.
Cut four squares of basic white cardstock, each 2 3/4” X 2 3/4”. Cut one of these squares in half, diagonally.
INSTRUCTIONS
- Score 4 1/4" X 11" piece at 5 1/2"
- Score 6" square at 3". Turn and score at 3". Score from one corner to diagonal corner. Fold and burnish on all score lines.
- Decorate the white cardstock for the front of the card. I used the All Wired Up stamp and the Hey Happy Birthday Chick Bundle.
- Decorate each piece of white cardstock to be used on the inside. Adhere each piece on the sections created by the score lines. Pay attention to the orientation of each piece so that they will all face the same way as the card is opened.
- Fold the 6" square in on itself so that all the white pieces are tucked inside and you have a 3" square.
- Holding this square as it will be placed on the inside of the card. Turn over and put adhesive on the back.
- Center this square on the inside back of the card with the tip of the square at the score line of the card base.
- Put adhesive on the the top of the 3" square.
- Lower the card front down on the square and press so the square is now adhered to the back and front of the card.
Canada Inks Up! Team Blog
Simply Succulents and Potted Succulents Dies I used the new Simply Succulents stamp set and Potted Succulents dies along with the Pai...
-
I made several examples of the side easel card for this blog hop. MEASUREMENTS: Cut 1 piece of cardstock 5 1/2" X 8 1/2". I used ...
-
Simply Succulents and Potted Succulents Dies These were fun cards to make!! I used the Simply Succulents Bundle (Simply Succulents Stamp Se...
-
Simply Succulents and Potted Succulents Dies I used the new Simply Succulents stamp set and Potted Succulents dies along with the Pai...