Thursday, August 26, 2021

STAMPIN'UP TOWER CARDS

The Tower Card is a great design.  The four sides allow you to show off any Designer Series Paper and send a message for any event.  It looks much more complicated than it really is.  The best part is that it folds flat so it easily fits in an envelope.  I love this card design.  I used the Stampin'Up Hydrangea Haven Bundle and Petite Pairs Stamp Set (retired) in creating this card.  


Measurements:

1 card center 4 1/4” X 14 1/4”. Score at 1”, 2”, 3” and 4” (leaving 1/4” on one end).

4 pieces of cardstock 4 1/4 X 2 3/4”;

4 pieces white cardstock 21/2” X 4” and 1 piece of white cardstock 1 1/2” X 4”

4 pieces of DSP 1 3/4” X 2 1/2” and 2 pieces of DSP 11/2” X 4”. 

4 pieces of ribbon 3 1/2” long

Instructions:

  • Score card center at 1", 2" 3" and 4", leaving 1/4" on one end.  Fold inward on each score line to form a square tube.  Place adhesive along the 1/4" strip and adhere to the end of the first section.
  • Adhere each 4 1/4" X 2 3/4" piece of cardstock to the four separate sections of the square tube.  
  • Adhere the 1 3/4" 2 1/2" pieces of DSP onto the bottom of the 2 1/2" X 4" white card stock.  Cover the seams by placing a strip of ribbon along each, folding and adhering the ends to the back of the white cardstock.  I used the Stampin'Up Purple posy ribbon (retired).
  • Adhere each of these pieces of white cardstock to each of the four pieces of cardstock on the square tube.
  • Adhere the 1 1/2" X 4 pieces of DSP and the 1 1/2" X 4 piece of strip of cardstock visible on the backside of each 4 1/4" X 2 3/4" piece of cardstock.  
  • Stamp desired sentiments on white cardstock.  Choose a die to cut out the sentiment.  Mount this piece on cardstock or coordinating cardstock.  
  • Decorate each section as desired. 
Here are some other samples of Tower Cards using different DSP to illustrate how versatile this card is.


Tuesday, August 24, 2021

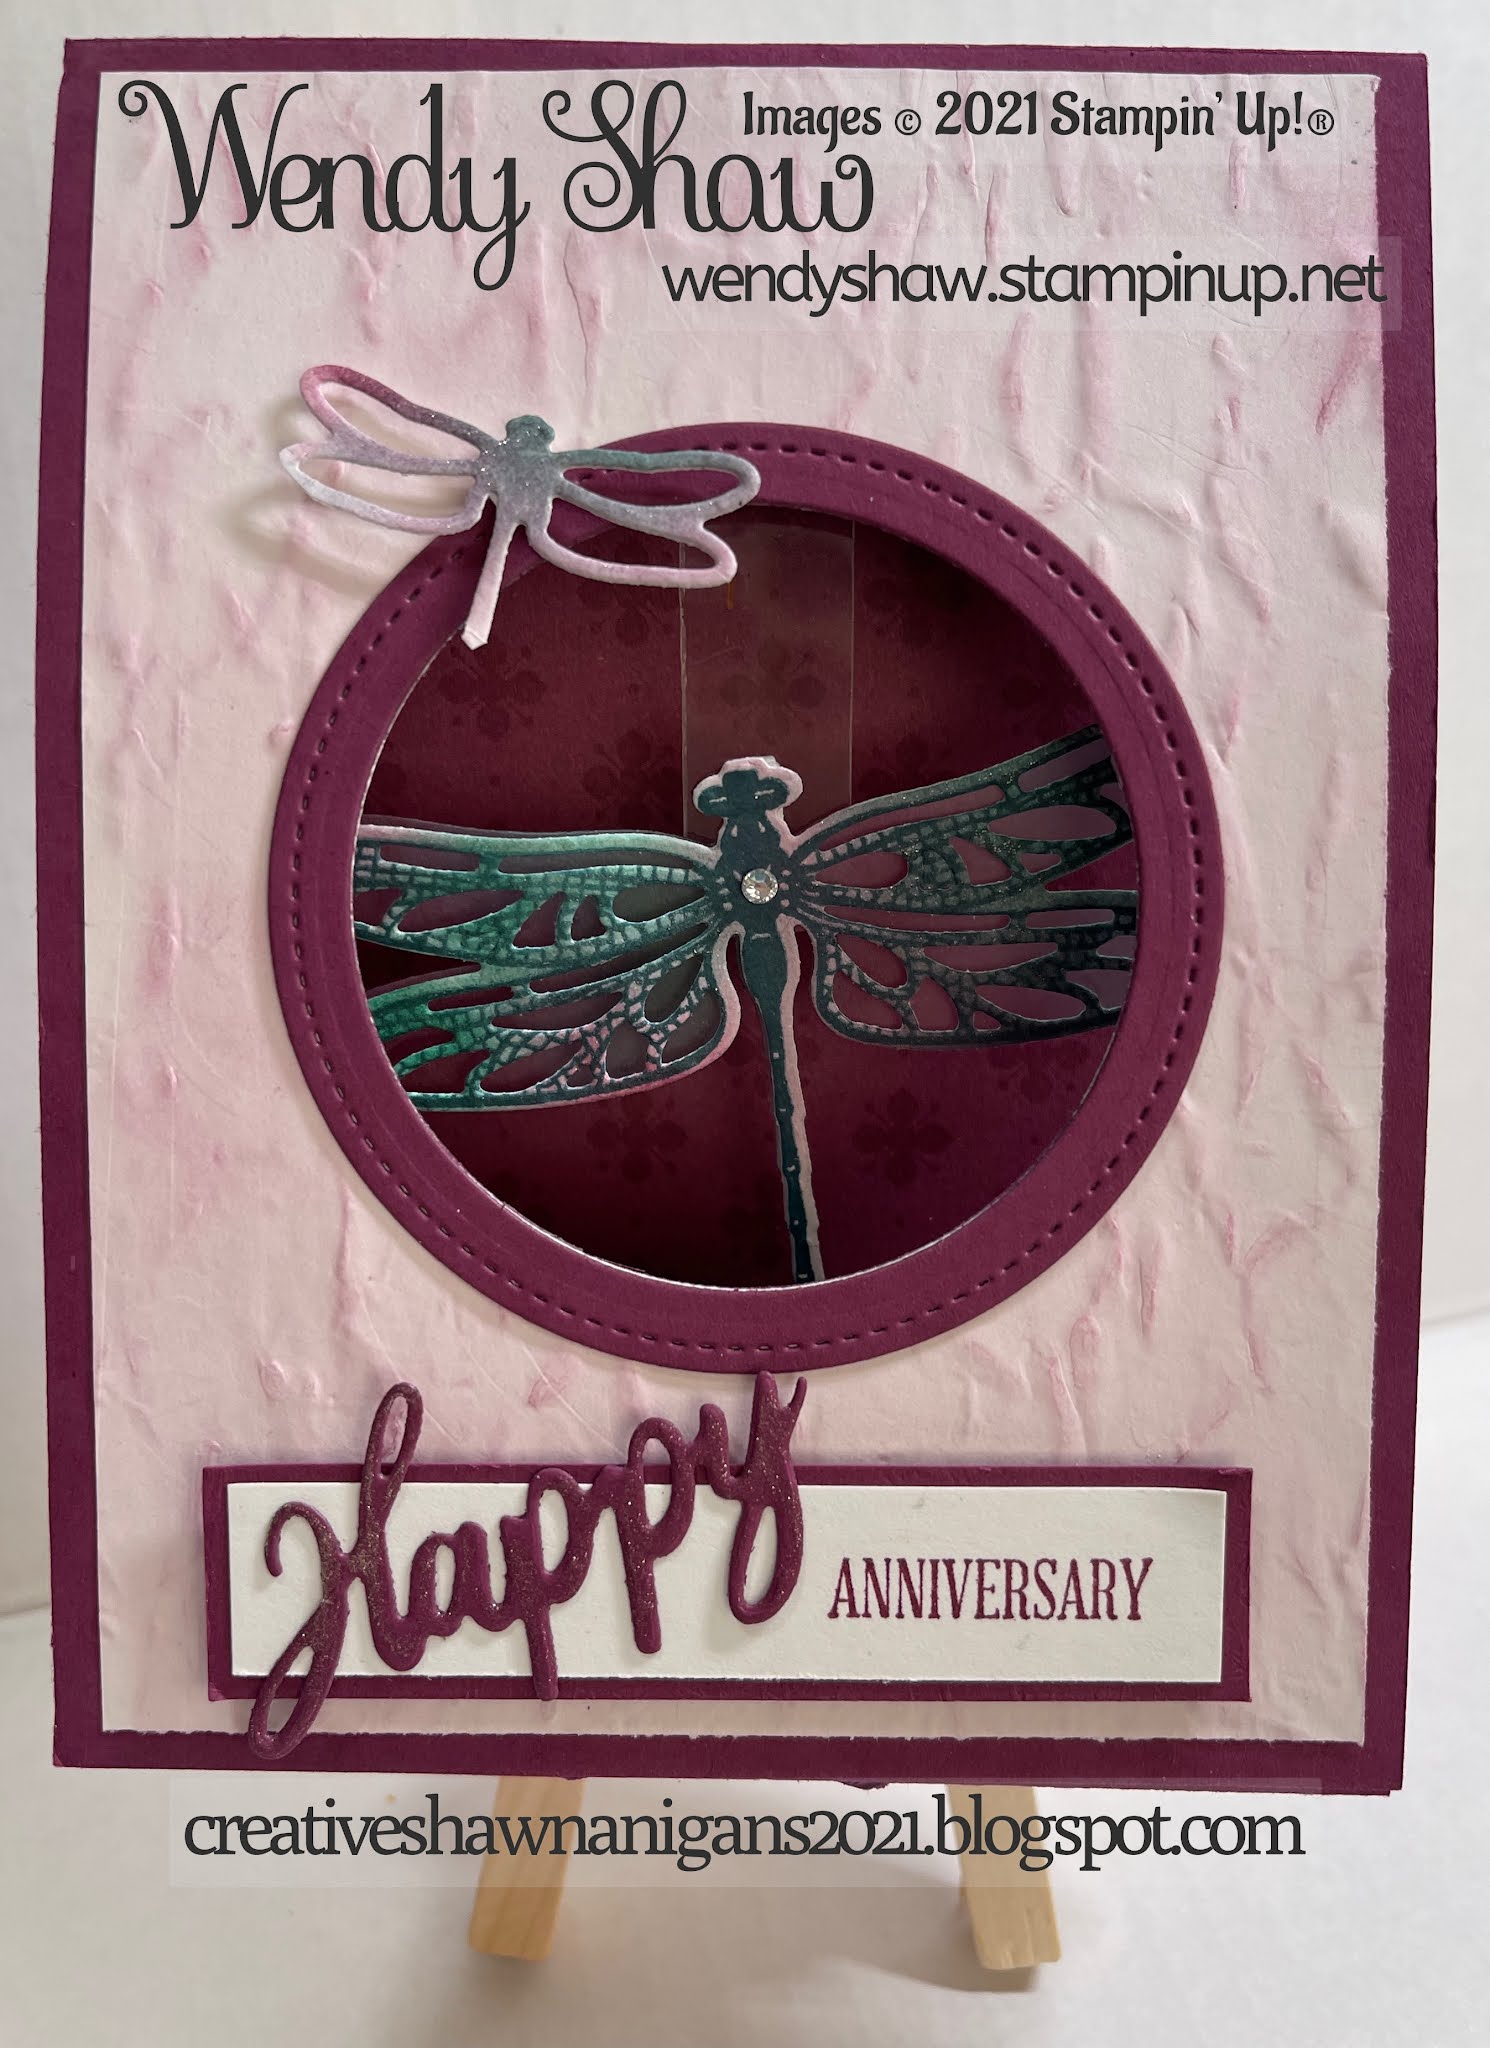
SWINGING TENT CARD WITH STAMPIN'UP

The Swinging Tent Card can be used for any event. 


MEASUREMENTS

1 cardstock base 4 1/4” X 11” 

1 tent base from same cardstock 4 1/4 X 3”, 

1 cardstock tab 1/2" X 2" for inside 

1 piece of white cardstock 4" X 5 1/4" 

1 piece of Designer Series Paper (DSP) 4" X 5 1/4".  I used

   the Berry Blessings DSP

1 piece window sheet 1/2" X 3"

1 sentiment for front

1 flower or whatever you wish to hang from the inside of the

   tent card.  I used some of the blueberries cut from the Berry

   Blessings DSP


INSTRUCTIONS

  • Cut card base from cardstock and score at 5 1/2"
  • Cut basic white card stock for front.  Adhere to the front.
  • Use desired embossing folder to emboss the white cardstock using the Cut and Emboss Machine. 

  • Center white cardstock on front and adhere.  Cut 2 7/8" circle with Cut and Emboss Machine in the middle front, through both the cardstock and white at the same time.  Cut frame for circle from coordinating cardstock.  
  • Create a circle frame by using the two largest circle dies on coordinating cardstock and run through Cut and emboss Machine
  • Cut card tent base. Score  at 1/2", 1 1/2" and 2 1/2".  Fold base in center and both ends in same direction.
  • Cut piece for hanging tab.  Score at 1/4", 1" and 1 3/4".  Fold in half and adhere together, leaving the two small ends free and fold out to form an upside down "T".  Punch a small hole near the folded end of the tab.  Adhere the two "T" ends to each side of the card base when placed over the center score line.
  • Punch a tiny hole at the end of the Window sheet strip
  • Place the tab and window sheet together and place a brad through the hole in the end of each.  Ensure the brad is able to swing freely from the tab.  I used a pair of scissors on each side under the legs of the brad as I folded the legs down.
  • Adhere the DSP on the inside of the card, covering over the one foot of the tab.
  • Position the flower (or whatever you have chosen) so that it can be seen through the circle on the front and adhere to the window strip hanging from the tab.
  • Adhere tent base, one edge of the tab to one bottom front and one to the bottom back. 
  • Stamp sentiment on white cardstock, cut out using chosen die and Cut and Emboss Machine and mount on cardstock.  Mount on card front.
Watch my video to see how to assemble this fun card. 


MORE SWINGING TENT CARDS


Canada Inks Up! Team Blog

     Simply Succulents and Potted Succulents Dies I used the new Simply Succulents stamp set and Potted Succulents dies along with the Pai...